Sertifier x Thinkific Integration
Table of Contents
In the realm of online education, recognizing students’ achievements through certificates is pivotal. It not only motivates learners but also provides them with tangible evidence of their efforts and skills. This is where integrating Sertifier with Thinkific can revolutionize the way you issue certificates. This integration allows you to send automated certificates to students upon the completion of a course, enhancing the learning experience by acknowledging their success instantly and professionally.
What is Sertifier?
Sertifier is an advanced digital credential management platform that simplifies creating, issuing, and managing certificates and badges. With Sertifier, organizations can design customizable credentials that are both attractive and informative, providing recipients with credentials that stand out in the digital landscape.
What is Thinkific?
Thinkific is a leading online course platform that allows anyone to create, market, sell, and deliver their own courses online. It is known for its user-friendly interface and robust features that enable educators to build courses tailored to their audience’s needs.
Why Integrate Sertifier with Thinkific?
Integrating Sertifier with Thinkific brings several benefits:
- Automated Certificate Issuance: Automatically send certificates as soon as a student completes a course, eliminating the need for manual intervention.
- Customization: Tailor certificate designs, details, and email communications to align with your brand and course theme.
- Enhanced Student Experience: Immediate recognition of students’ efforts through professional certificates adds value to their educational journey.
Create a Course On Thinkific
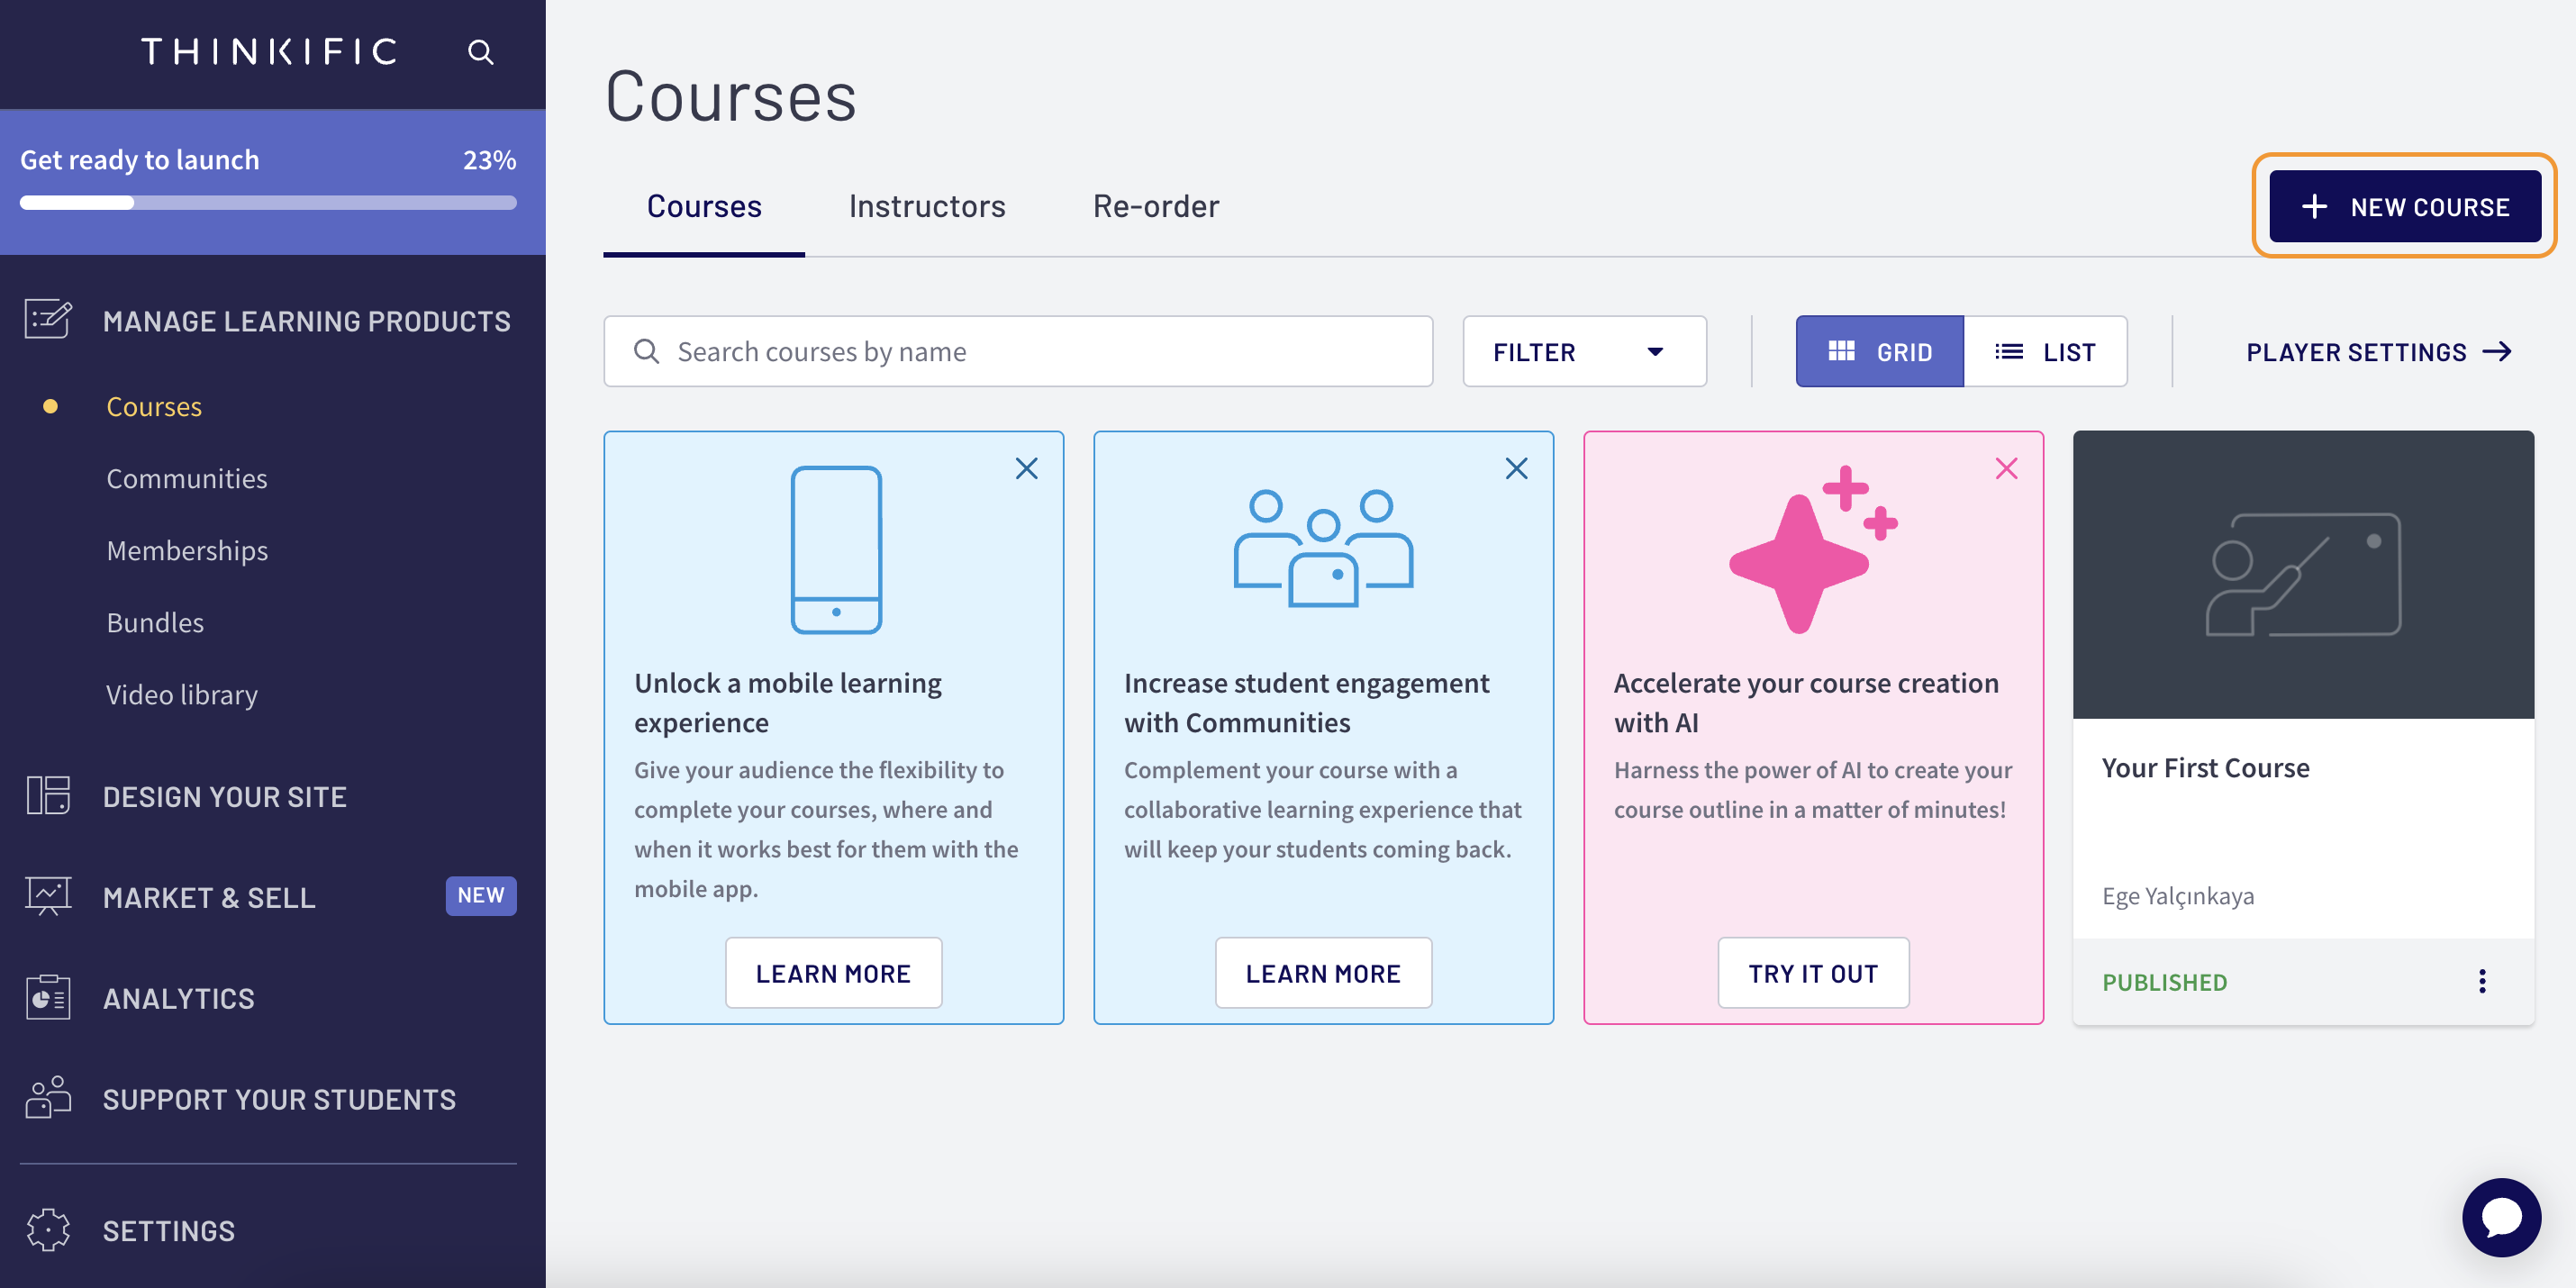
To begin the process of creating your Thinkific course, go to the “Manage Learning Products” section, select “Courses”, and then click the “+ New Course” button located in the top right corner.
Select a course template and provide a name for your course.

Step 1 – Select a Level of Knowledge: Choose the appropriate level of knowledge that your course is designed for. Consider whether it’s a beginner, intermediate, or expert level.
Step 2 – Describe Your Audience: Define your target audience. Who is your course intended for?
Step 3 – Provide a Description that Solves a Problem: Write a course description that clearly articulates the problem your course is designed to solve for your students.
Step 4 – Expected Outcomes for Attendees/Students: Outline the expected outcomes or learning objectives for attendees or students who complete your course. What skills, knowledge, or abilities will they gain?
Afterwards, you will be able to create and manage all the details of your course.
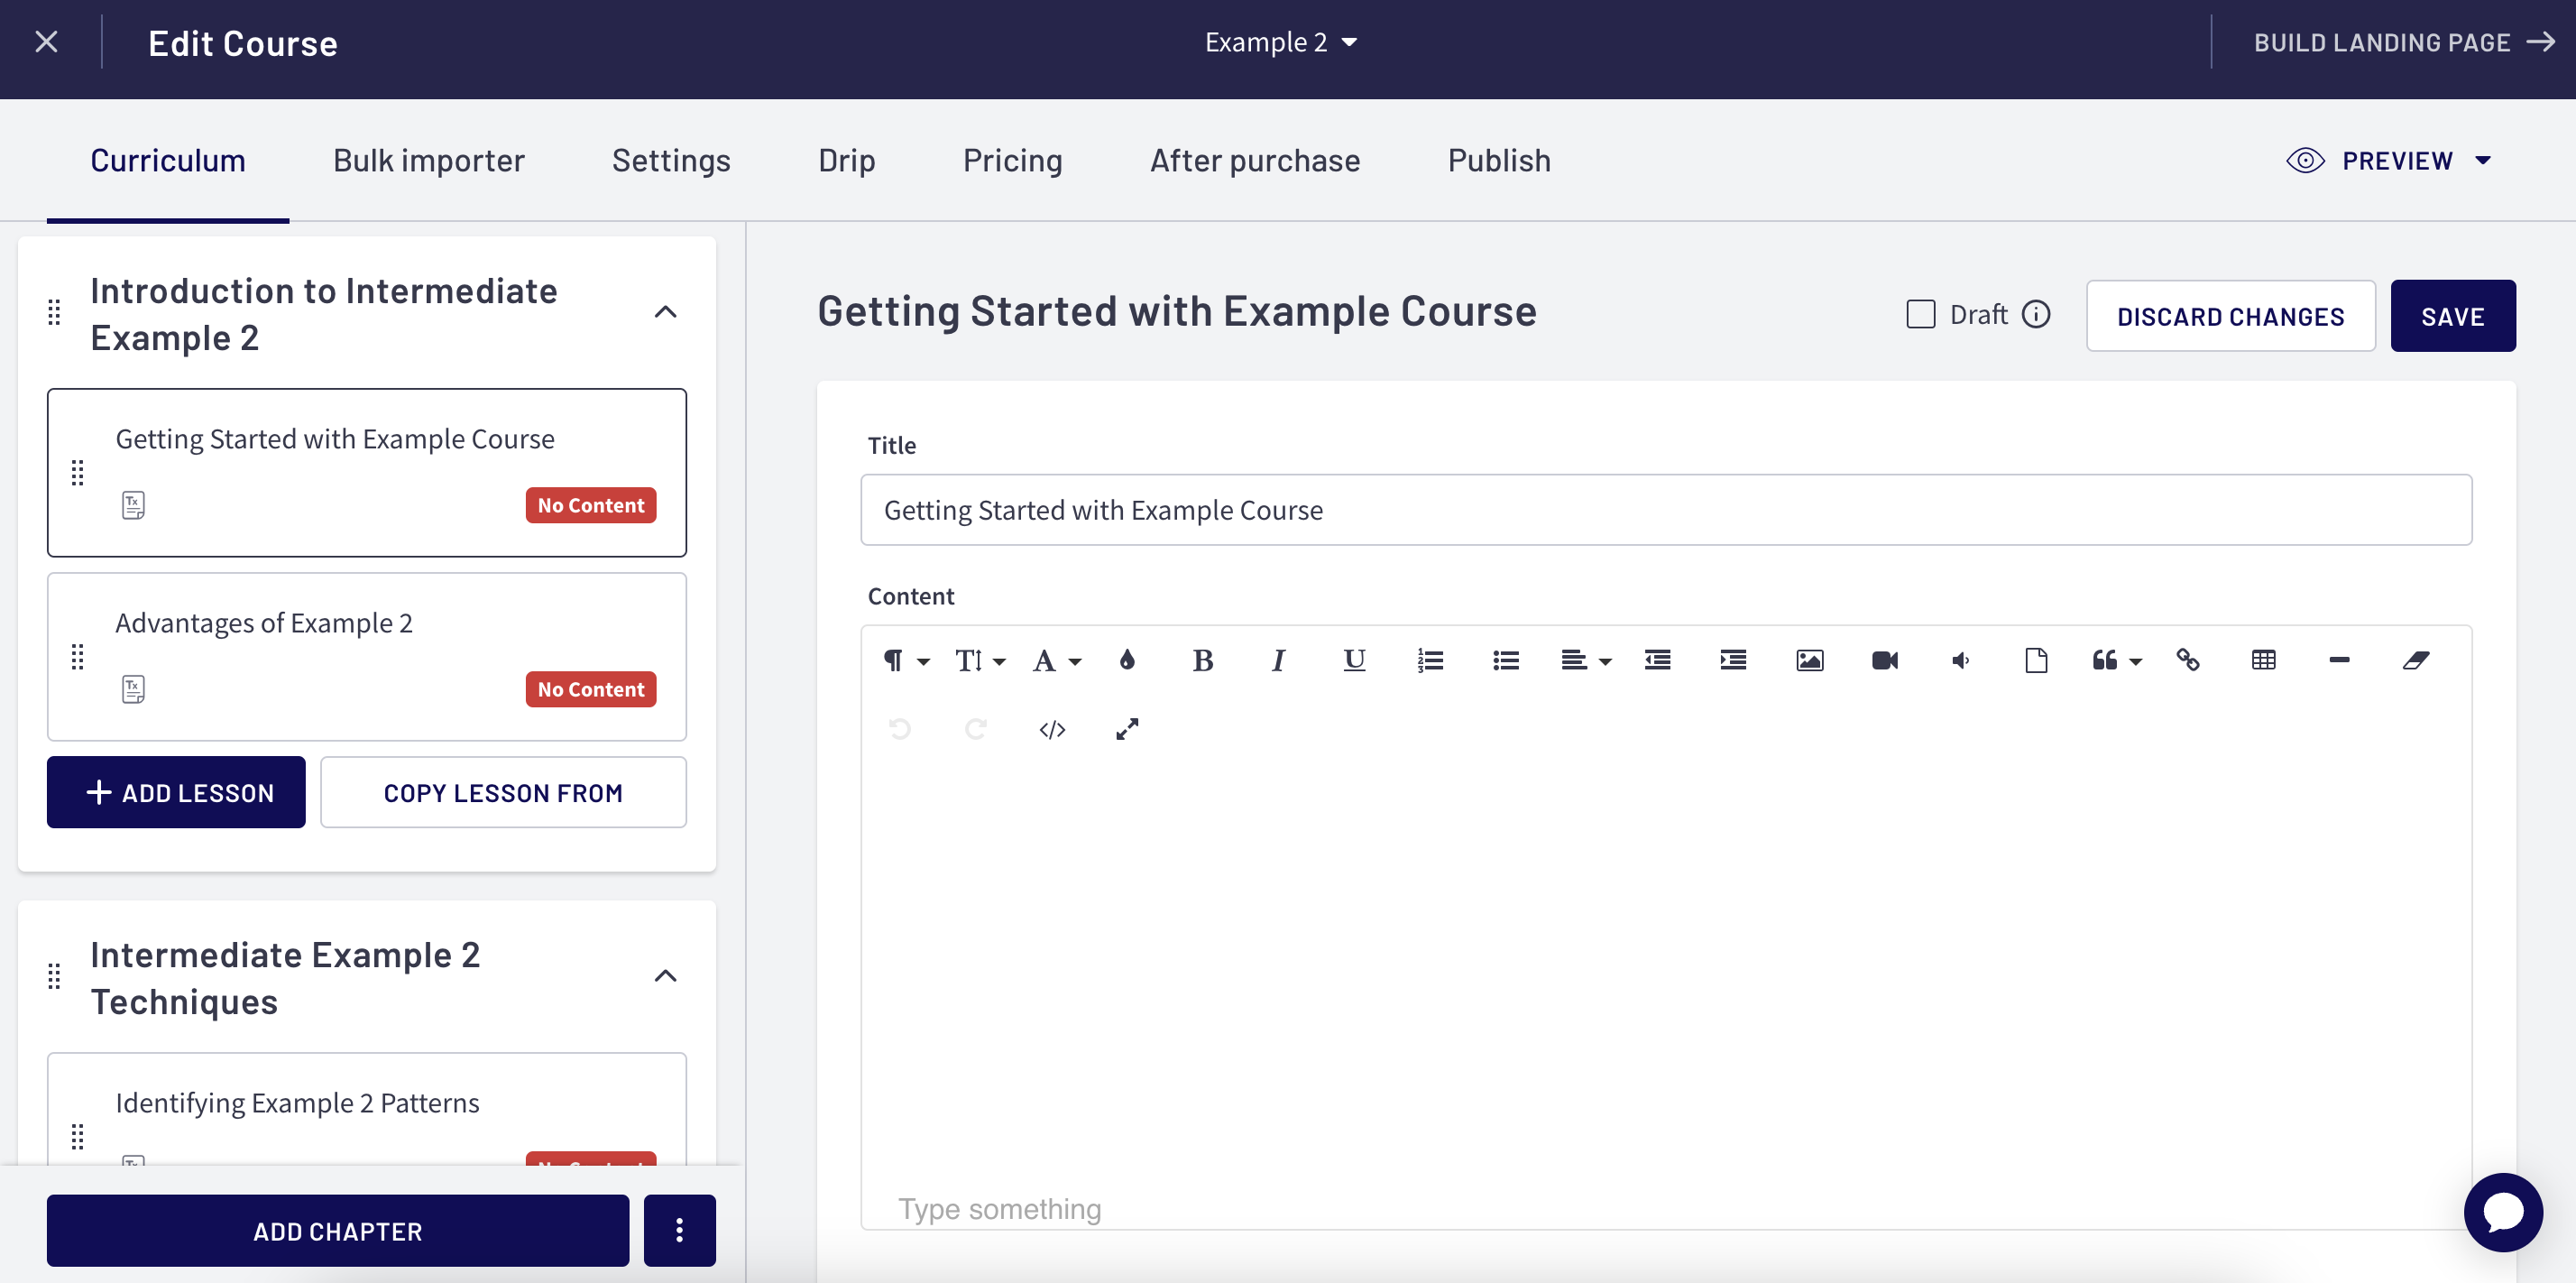
For more information on creating a course on Thinkific, please visit the Thinkific Help Center.
Connect Your Sertifier Account
Install the App in Thinkific
To start the integration process, you need to install the app in Thinkific.
- Navigate to the Integrations tab on your Thinkific account and click Visit App Store in the top right corner.
- Search for Sertifier, and click Install the app.
- You will be redirected to your Sertifier account once you click “Accept and Install”.
- You can see that your Thinkific Integration is shown as Active.
Once you’re signed in, it means your Sertifier and Thinkific accounts are now connected. Now the only step left is to create a credential campaign that is going to be sent once an attendee finishes your course.
Create Your Credential Campaign
*Go to the Advanced > Integrations tab from the left menu of your Sertifier account.
*Click Create New Integration from the top left corner.
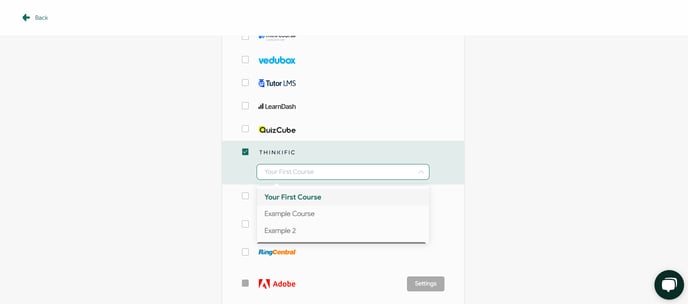
*Select Thinkific from the integrations, and choose the course you created on Thinkific.
*Proceed with creating the credential details, credential design, and email template.
Credential Detail
The detail page is where you input the information for your digital credentials.
Within the credential campaign flow, click on “Select Detail”, and then proceed by clicking the Create New Detail button.
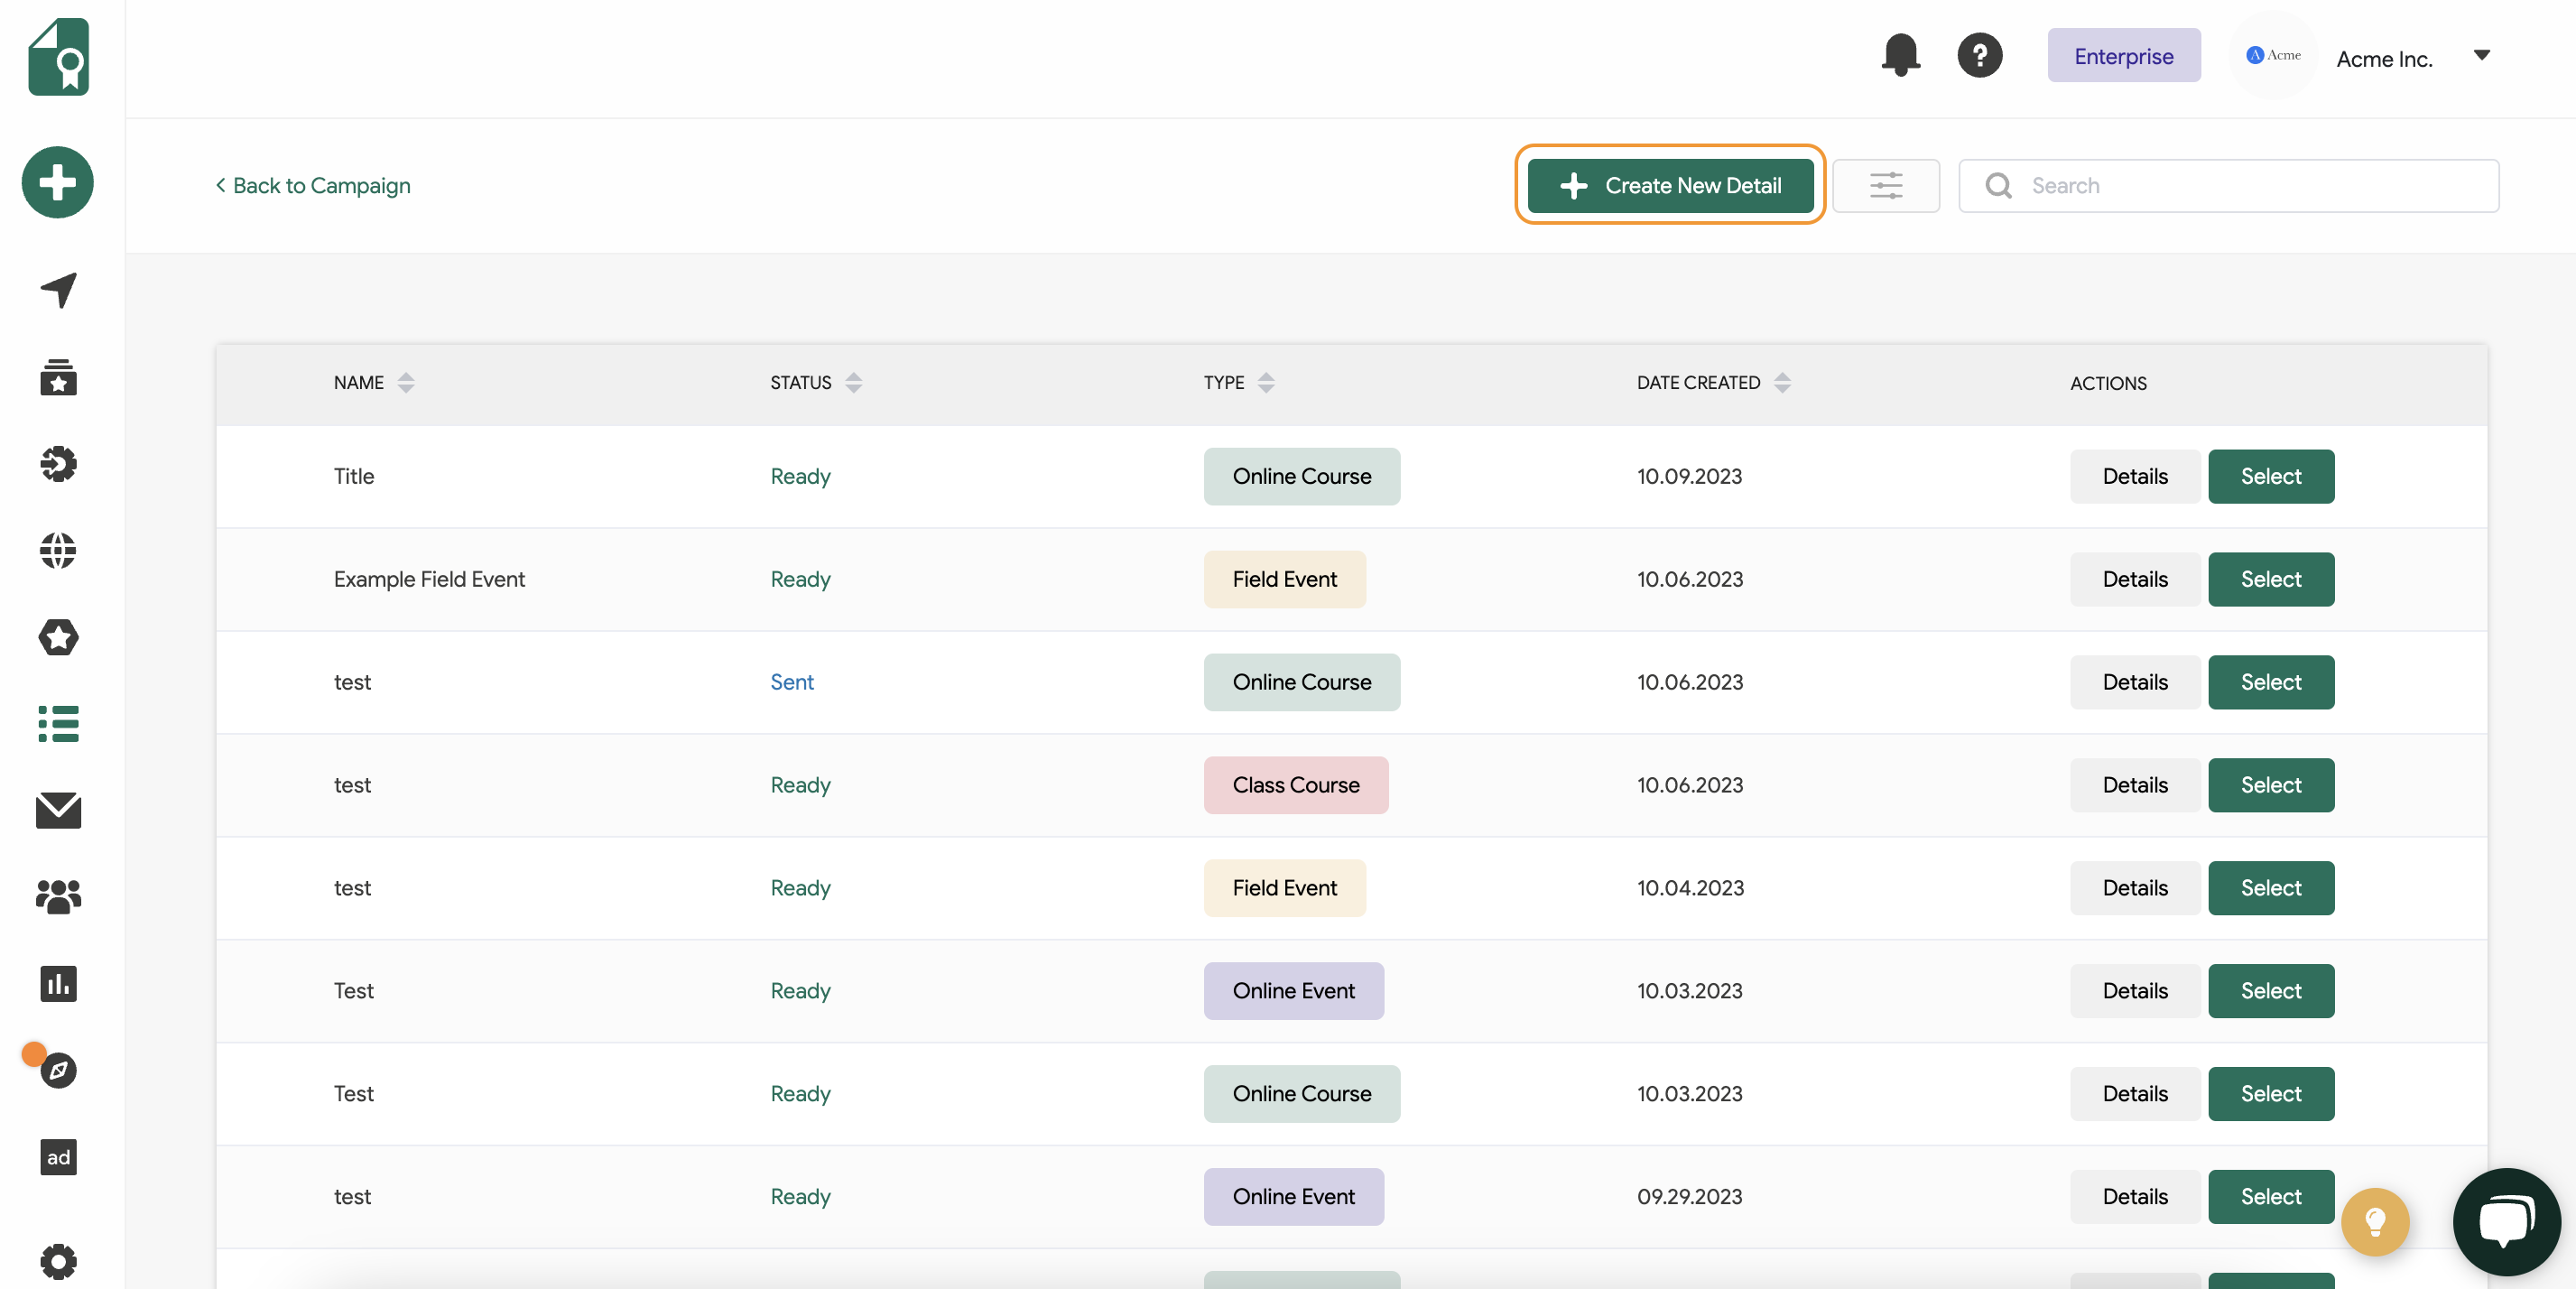
To get started, your first step is to select a Credential Type.
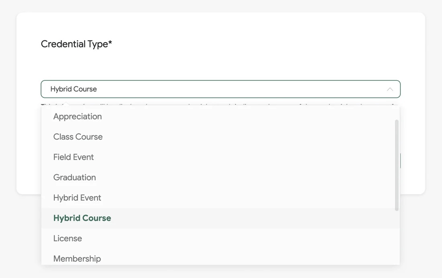
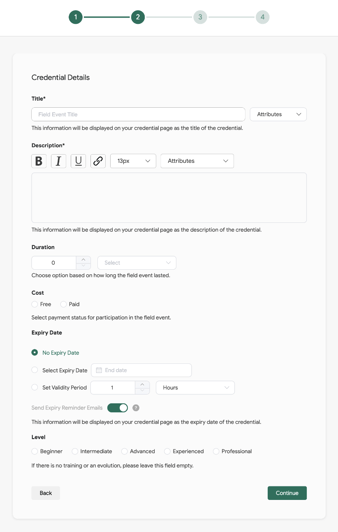
Next, provide all the information for your event. Include a detailed description, select the event duration, specify the cost, set an expiry date if needed, and indicate the appropriate level, if applicable.
Credential Expiry
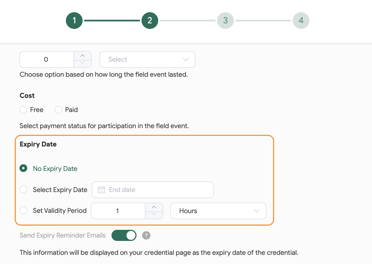
If the credential that you will send to your recipients has an expiry date, specify it while creating the certificate details. Otherwise, select the No Expiry Date option.
When you set an expiry date, both you and your recipients will receive email notifications one month prior to the credential’s expiry. If you prefer not to send credential expiry email notifications to your recipients as their credential’s expiry date approaches, you can disable this feature from this section.
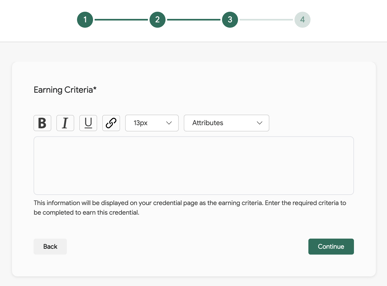
Enter the criteria for earning your credential. You can also utilize system or custom attributes at this stage.
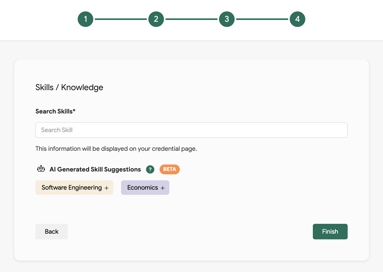
The last step to finish your credential details is to add Skills. This is where you select the relevant skills related to the field you are teaching. You can either choose skills from the existing talent library or add custom ones.
Credential Design
Within the credential campaign, click either the “Select Badge Design” or “Select Certificate Design” option, or create both of them under the same campaign. Then, select Create New Design to customize your credential design.
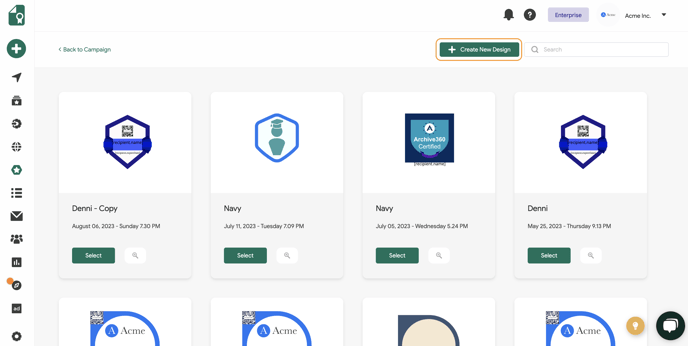
For more details on further customizing your credentials, click here.
Once you’ve finished customizing your credential design, save it, and then continue with your campaign with the email step.
Email Template
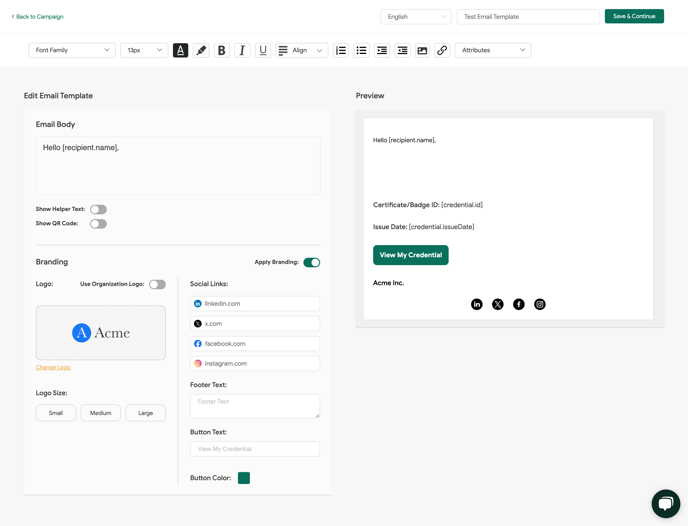
Proceed with “Select Email Template”, and click the Create New Email button.
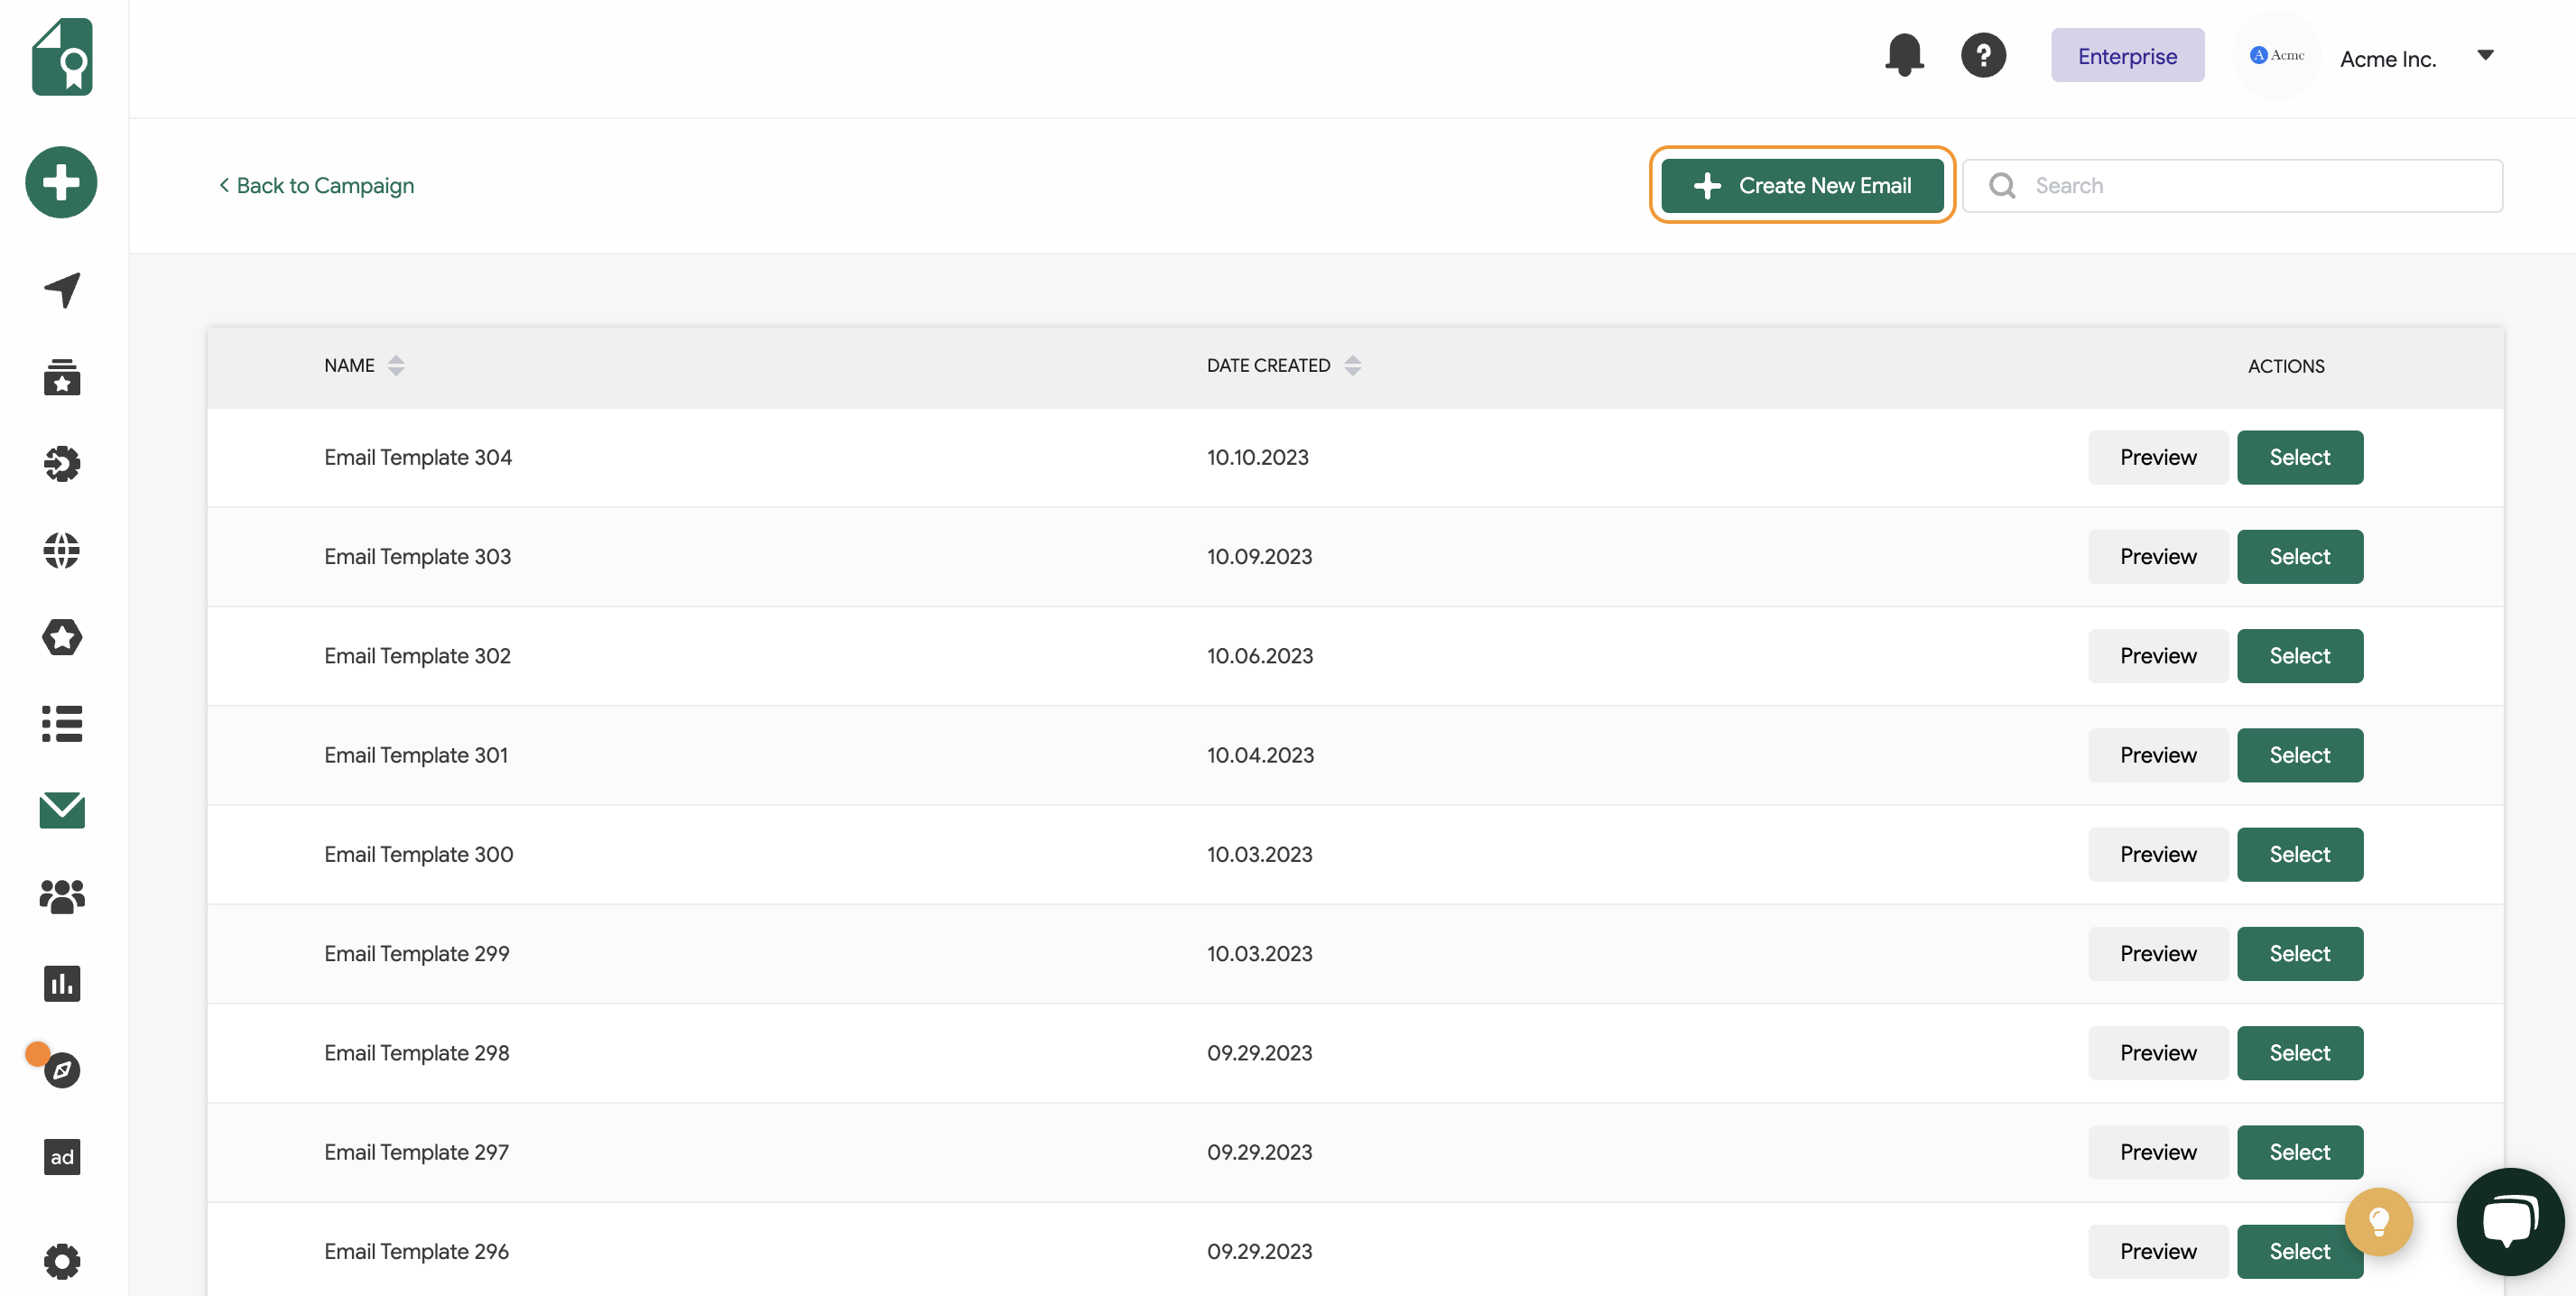
The ‘Email Template’ tab is where you create and customize the email you’ll be sending the credentials to your recipients. Here, you have the flexibility to personalize your email according to your preferences. For more detailed information, please refer to this help article.
Recipients
Your recipients will be retrieved automatically as they complete your course on Thinkific.
You have the option of disabling the automatic sending of your credentials upon course completion by switching off the Instant Sending button inside your credential campaign.
Attributes
Attributes are what make up your credential – they’re the details that make a credential unique.
These attributes are integrated into the credential design, and automatically populated with the information you provide.
Available System Attributes
| recipient.name | The recipient’s name is automatically obtained as your attendees complete the Thinkific courses. |
| issuer.name | The issuer’s name is automatically retrieved from the Settings > Organization > Organization Name section of your Sertifier account. |
| credential.name | Credential name information is obtained from the title of your credential detail. |
| credential.id | The credential ID is generated uniquely for each and every credential. |
| credential.campaignName | Credential campaign name information is obtained from the title of your credential detail. |
| credential.description | Credential description information is obtained from the description field you’ve filled out within the selected credential detail. |
| recipient.email | The recipient emails are automatically obtained from your recipients. |
| recipient.expireDate | The expire date information is taken from the chosen credential detail. |
| thinkific.courseName | Thinkific course name information is obtained from the course name you have set on Thinkific. |
| thinkific.userCompany | The Thinkific user company attribute is collected from the company information you’ve provided in your Thinkific account. |
Conclusion
The integration of Sertifier with Thinkific is a game-changer for online educators looking to automate and enhance the way they recognize student achievements. By leveraging the powerful features of both platforms, you can provide immediate, customized, and meaningful recognition to your students, encouraging continued engagement and learning.


